
 简体中文
 English
 русский
 Français
 Español
 عربى
Submit feedback
How to Choose Solar Street Lights: A Practical Guide to Types, Sizing and Applications
How to Choose Solar Street Lights for Your Road
A good selection process follows the sequence of the project: the lighting task, the local sun, the energy store and finally the hardware. Skipping a step is how projects end up with lights that look fine on day one but go dark by the second rainy week.
Step 1: Define the Lighting Task
Write down what the light must do. A footpath needs gentle, even light for walking safety. A residential street needs enough illumination to recognise faces and obstacles. A main road needs higher output and wider spacing to keep drivers comfortable at speed. As a rough guide, a path in a park may use a light source in the range of 20W to 40W on a pole of 4 to 5 meters, while a collector road often needs 60W to 120W on a pole of 8 to 10 meters. These are planning ranges, not fixed rules, and the final figure depends on the lighting standard in your region.
Step 2: Check the Local Sun Resource
Solar output depends on peak sun hours, which is the number of hours per day when sunlight reaches the panel at full strength. A site with 5 peak sun hours collects roughly twice the energy of a site with 2.5 peak sun hours from the same panel. Always design for the worst month, which is usually the cloudiest or the one with the shortest days, rather than the yearly average. A system that works in December will work in July.
Step 3: Size the Battery for Autonomy
Autonomy is the number of nights the light can run with no useful sun. Two to three days is a common target. If a lamp draws 40W for 11 hours each night, it uses about 440 watt hours per night. For three days of autonomy, the battery needs to deliver around 1,320 watt hours of usable energy, plus a margin for temperature and ageing. Lithium iron phosphate cells are widely used because of their cycle life and stable behavior in outdoor cabinets.
Step 4: Match Pole, Spacing and Optics
Spacing is usually set at three to four times the mounting height for even coverage. A 6 meter pole therefore suggests spacing in the range of 18 to 24 meters. Wide, rectangular light distribution suits roads, while a narrower pattern suits paths. Ask for the light distribution data, not only the wattage.
Explore the Street Light Range
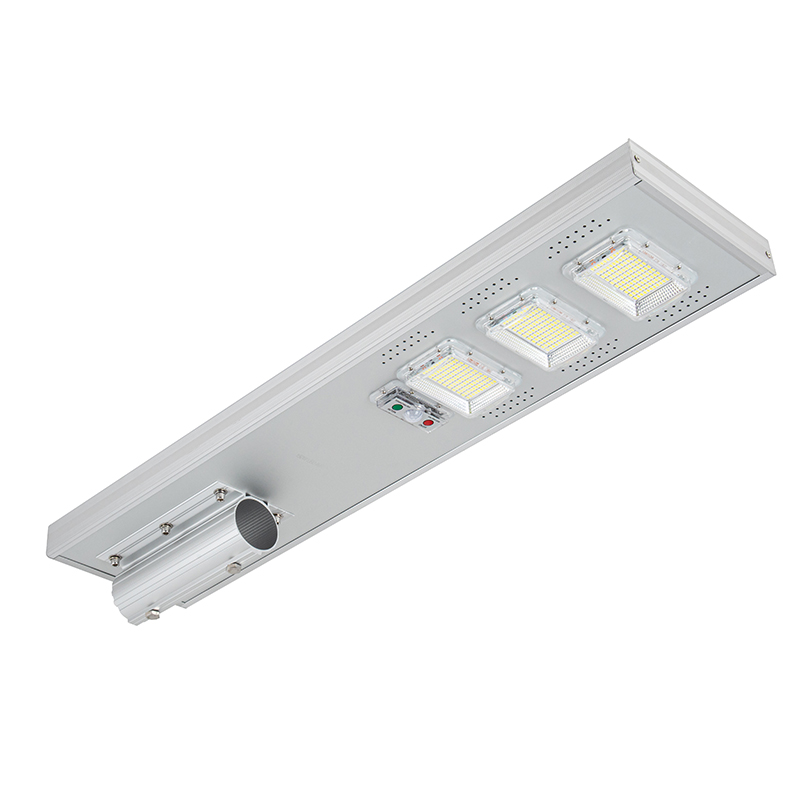
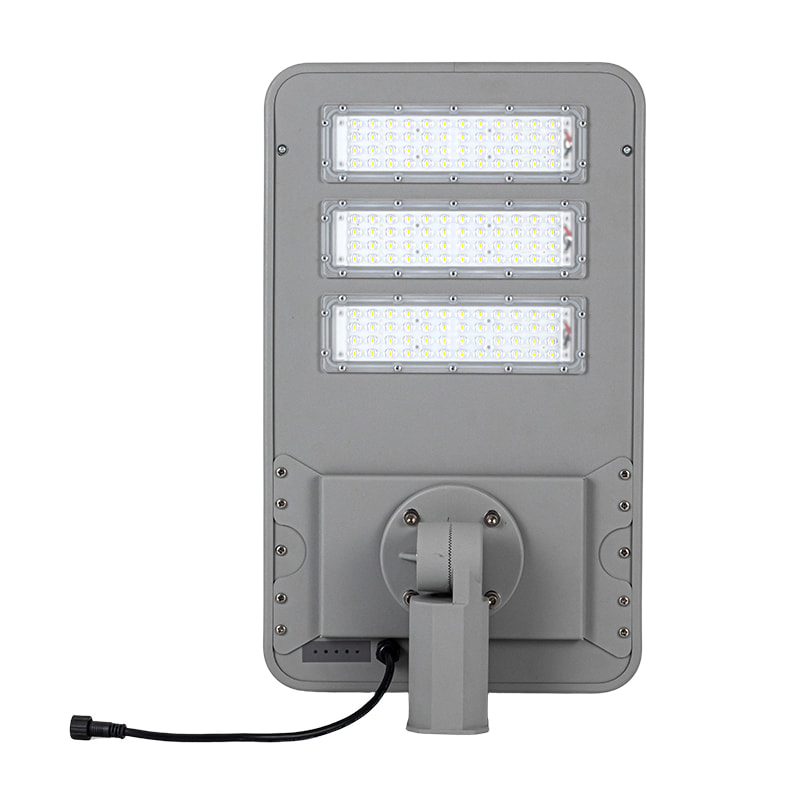
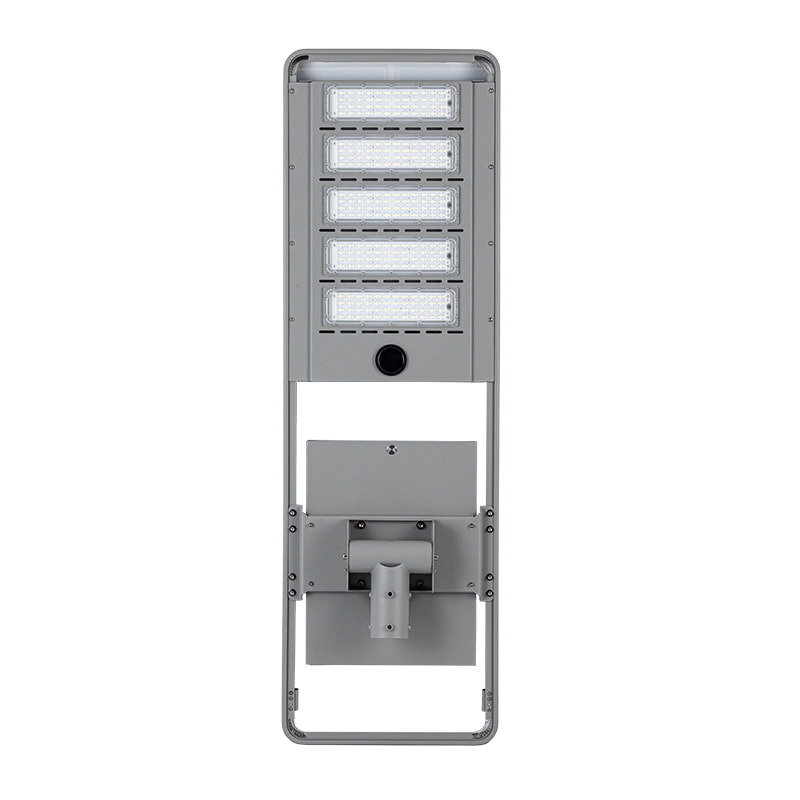
The cards below show three models from the street lighting range. Each card links to its product page, where you can review specifications and send an enquiry.
All-in-One vs Split Solar Street Lights: Which Is Better
Neither design wins in every project. An all-in-one light puts the panel, battery, controller and lamp in a single body, which makes handling and installation simple. A split design separates the panel and battery from the lamp head, which allows larger components and more flexible placement. The table below compares them on the points buyers ask about most.
| Factor | All-in-One | Split Design |
| Installation | Fast, one unit on one pole | More steps, separate parts |
| Panel and battery size | Limited by the body | Easier to enlarge |
| Panel angle | Fixed or limited adjustment | Adjustable on its own bracket |
| Shade tolerance | Lamp and panel share a position | Panel can sit in the sun, lamp elsewhere |
| Best fit | Paths, villages, car parks | Roads needing higher output |
When All-in-One Makes Sense
Choose an all-in-one light when speed and simplicity matter. A crew can install a unit on a prepared pole in a short visit, with no cable runs between components. This is a strong match for remote paths, rural access roads and temporary sites, where trenching for cables would add time and disruption. The All-in-One Solar Street Light in the range is built for this type of work.
When a Split Design Is Safer
Choose a split light when the power budget is larger or the site is partly shaded. The panel can be mounted on the sunniest side of the pole or on a separate structure, and the battery can be sized for longer autonomy. If a tree or building shades the lamp position for part of the day, a split design can keep the panel in full sun while the lamp lights the road.
Solar vs Grid-Powered LED Street Lights: Which Suits Your Project
Solar lights suit sites where bringing power is hard, while grid connected LED lights suit sites where power is already available and output must be high. The decision is about infrastructure and duty, not about which technology is newer.
| Condition | Solar Street Light | Grid LED Street Light |
| Power cable available | Not required | Required |
| Trenching work | None | Often needed |
| High output highways | Possible but large components | Well suited |
| Low sunshine regions | Needs careful sizing | Not affected |
| Power outage risk | Independent of the grid | Depends on the grid |
Where Grid LED Lights Lead
Highways and main roads often need high output, wide spacing and steady performance every night. A high power LED light such as the HO-TX Series is designed for this duty, and it avoids the large panels and batteries that a solar system would need at that power level. Where mains power already runs along the road, this is usually the simplest path.
Where Solar Lights Lead
Solar wins where the cost and effort of connecting to the grid are the main barrier. Villages, farm tracks, coastal paths, parks and new developments that are not yet connected are typical examples. Because the lights do not rely on mains power, they also keep working during grid outages, which matters for evacuation routes and community safety.
What Solar Street Lights Suit Different Applications
The best product depends on the place. Use the examples below as a starting point for your own site survey.
Rural Roads and Villages
Long distances and no nearby power make these roads a natural fit. All-in-one lights with 30W to 60W output and 6 to 8 meter poles can give safe lighting at junctions, bus stops and village entrances. Space them closer at crossings and farther apart on straight sections.
Campuses, Parks and Residential Estates
These sites value even light and low maintenance. Lower poles of 4 to 6 meters with soft, wide distribution make walking areas feel safer. Motion sensing or dimming schedules can extend battery life by reducing output in the quiet hours after midnight.
Car Parks and Logistics Yards
Open areas need broad coverage and strong light at entrances. Split designs help when the pole is near a building, because the panel can be placed on a roof edge or a separate mast in full sun.
Highways and Main Roads
Where vehicles travel fast, the light must be bright, stable and evenly spread over several lanes. Grid connected high power LED lights are the usual choice here, with spacing and mounting height set by the road lighting standard of your region.
Why Solar Street Lights Fail Early and How to Avoid It
Most early failures trace back to sizing and installation rather than to the lamp itself. Four causes appear again and again.
Practical Prevention
Run a site survey with a sun path check at the exact pole position. Specify the battery chemistry and rated cycles in writing. Confirm the enclosure protection rating for dust and water. Plan a cleaning visit once or twice per year, because a dusty panel can lose a noticeable share of its output, especially in dry or coastal areas.
Final Checklist Before You Order
Confirm each point below before you request a quotation. Clear answers here make the supplier discussion faster and the final system more reliable.
- Lighting task defined: path, street, car park or highway.
- Peak sun hours confirmed for the weakest month.
- Autonomy target set, usually two to three nights.
- Pole height and spacing agreed with the lighting standard.
- Structure chosen: all-in-one, split or grid connected LED.
- Enclosure protection and battery chemistry confirmed in writing.
Next: How to Choose Solar Energy Storage Systems?


Contact Us
-

Email: alex@streetlight-solar.com
-

Tel: +86-19962566117
-

No. 1, South Tongshan Road, Tianshan Town, Songqiao Town, Gaoyou City, Yangzhou City, Jiangsu Province, China
